Adding Unselectable Enemies
Chrono Trigger has data for 256 enemies, but only enemies up to {FA} Magus are selectable from Temporal Flux. This tutorial covers two methods of using these extra enemies in events.
Method 1: Modifying the loaded enemy with Self Modifying Code (SMC)[edit]
Advantages: You can change the enemy through events in game. Disadvantages: Editing the location events can cause this to break, requiring things to be redone. Tools Required: Temporal Flux.
1) Add a command to Object 00's startup/idle, before the Return command It should be Assignment -> Value-To-Mem, Stored to 7F2000, with a width of one byte.
2) Click Write Mem, then close and reopen the location events.
3) Find the Load Enemy command you want to change, and note the default label of the command.
In this case, it's at [01E3]. We want to change the enemy loaded, so the value we need is one higher, at 01E4.
4) Update the command from step 1, so the stored to address is 7F2000 + the value from step 3. In this case, it would be 7F21E4.
Method 2: Modifying the loaded enemy with a hex editor[edit]
Advantages: Future event editing is easier. Tools required: Temporal Flux, a hex editor.
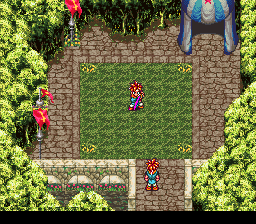
1) Export the Location Events and Dialogue for the location you're working with. In this case, we're using Gato's Exhibit, so it will be packet 6F.
2) Find the Load Enemy command you want to change in the event editor. In this case, it's at [01DF].
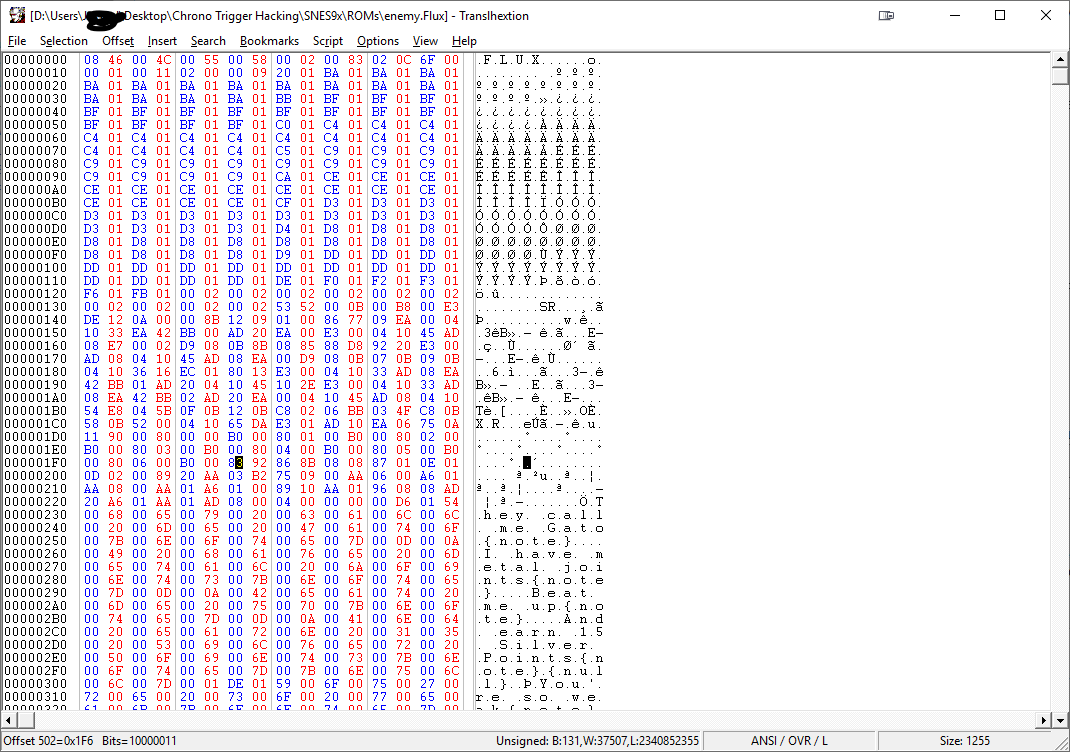
3) Open the Flux file with a hex editor. I use Translhextion for it's cool Chrono Trigger themed icon, but any will work. Start at the position in the file based on the label above, then look for a sequence of 83 XX, where XX is the enemy index of the current enemy. In this case, it's 83 92. The command should be at least 0x18 bytes beyond the the initial value, possibly more depending on the data in the Flux file header. Adding text in the notes section will increase this.
Change the enemy index to the enemy you want.
4) Import the events back into Temporal Flux, then save your ROM.
Final Notes[edit]
Whichever method you chose, you should be able to see your new enemy in action now.
By default, these extra slots can only handle PC (uncompressed) sprites. If you want to use other graphics, open Fiendcrafter and choose the "Any enemy can be uncompressed" option.
These last few slots do not have a name to display with them. Adding extra names will be covered in a future tutorial.


